Bob Lane Collapsible Cup - MYOG Clone
Bob Lane Collapsible Cup - MYOG Clone
August 28, 2012:
Matt Porter started a thread on the Backpackinglight web site about the "Bob Lane Collapsible Cup he has:
Several other members added comments about the cup. A couple other members had seen one of these cups or knew someone that had owned one. I even found that one of these had just sold on ebay for $50.00.
I though the idea was clever and decided to see if I could make one for myself. The cup had a Patent on it at one time and I was able to find the Patent drawings.
Matt has been very helpful in providing additional information about the cup.
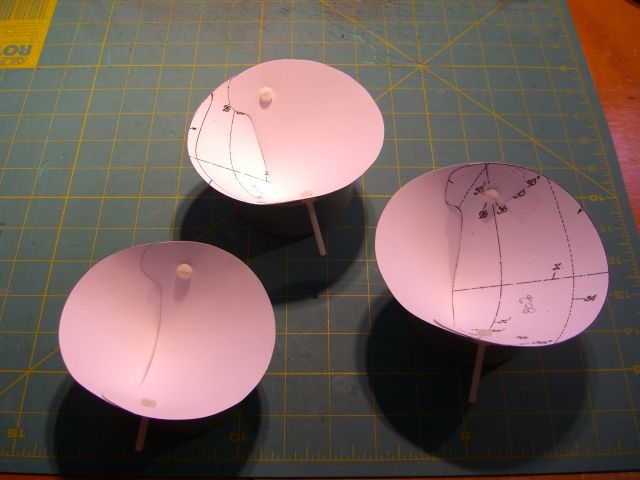
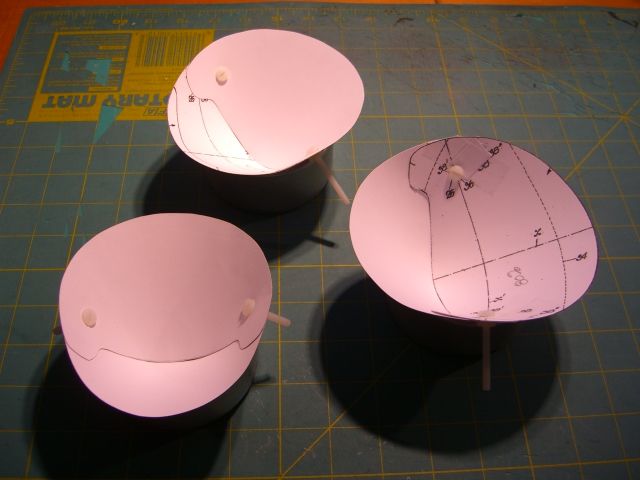
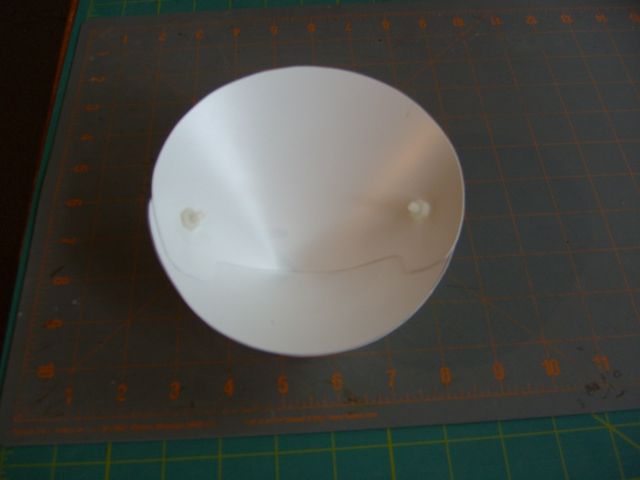
I printed out the Patent Drawing in a couple different sizes and made a few card stock mockups. The photos show three different sizes. The largest one is just under 5" wide. I am still tweaking the pattern.
I am holding the cups together with #8-32 Nylon screws and nuts. For my own cup I might just use try one with the Nylon screws and nuts. I can cut the extra off the end of the screws and then heat the tip to melt a cap of sorts on that end. Then I can use it and see how long that idea will last.
The "for real" cup could be made from one of several different material I have on hand. I have the .016" titanium, 1/32" aluminum or a thin plastic I have. The aluminum should be the easiest to work with and I will start with it.
1.
2.
3.
4.
-----------------------------------------------------------------
August 30, 2012:
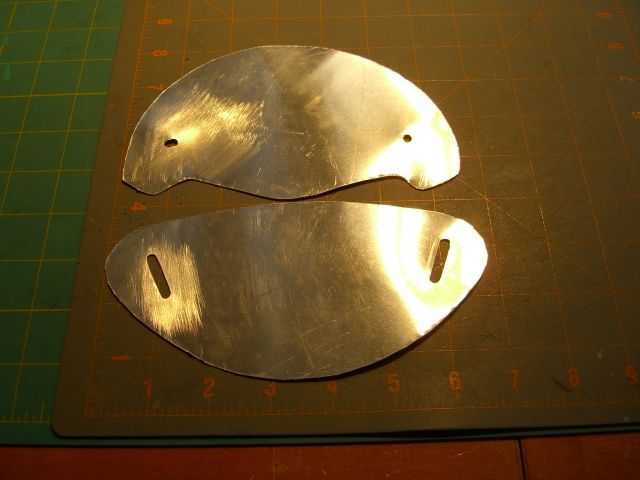
I have now made a Lane Cup out of two different materials. I made the first one out of some 1/32" aluminum. As it turned out it would not open. The aluminum was to thick and the cup would not open.

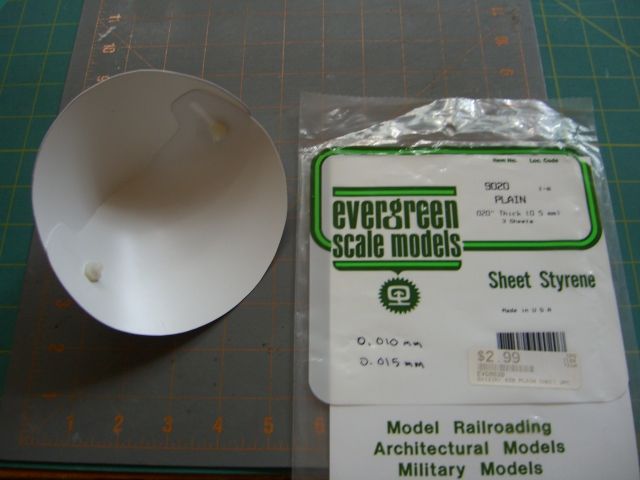
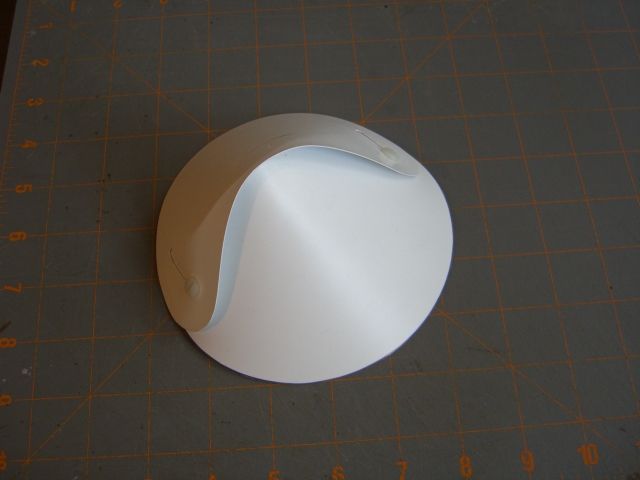
I then got out a piece of a thin plastic material (.020") called "Styrene" and made a second Bob Lane Cup - Clone. This one does open and only weighs 13 grams / 0.46 ounces. The down side is that it leaks, drip, drip, drip, drip. It might be possible to tweak the pattern so the plastic might work better.
I plan to make at least two more test cups, one out of 0.010 aluminum and one out of 0.010 Stainless Steel.
The question for me now becomes "If I add a cup like this to my gear list", how do I plan to use it? If I want to drink out of it, my first version plastic cup leaks to much. If I only want to use it as a scope to get water from a creek or spring to put in a water filter, water bottle or other water container, then the fact that it leaks may not be that important.
At 0.46 ounce the plastic cup might be light enough to add to my gear list but it has to have a real job. Adding a cup like this to my gear list would only work for me if I don't have anything else to scope water with.
--------------------------------------------------------
September 1, 2012:
I have been playing with the "Styrene" Cup Clone #1 and have refined the edge to reduce the leaking problem. Most of the time now when I open it, it doesn't leak till I handle it a lot.
I think a cup like this could be used to scope water out of a shallow stream or water hole and maybe even to drink out of, but I am not sure yet if that alone is good enough to add a half ounce to my "Super Ultra Light" gear list. Since I drink from a bottle I haven't figure out yet what else I might be able to do with a cup like this if I am carrying it.
and
A half ounce is a half ounce is a half ounce.
posted by gardenville @ 9/01/2012 06:45:00 PM
4 comments
![]()